
4×6 Lean-To Shed Plans
This 4×6 lean-to shed sits on pressure-treated skids on gravel, with 8′ walls, a 3/12 single-slope roof and a peak of 10′ 7-5/8″. The 34″-wide door opening gets a doubled header sized for the roof load above it. Rafters are 2x4 at 16″ on center. All 62 pieces of lumber are lettered below with their lengths and cuts, and the shopping list comes to 44 boards plus sheet goods and hardware.
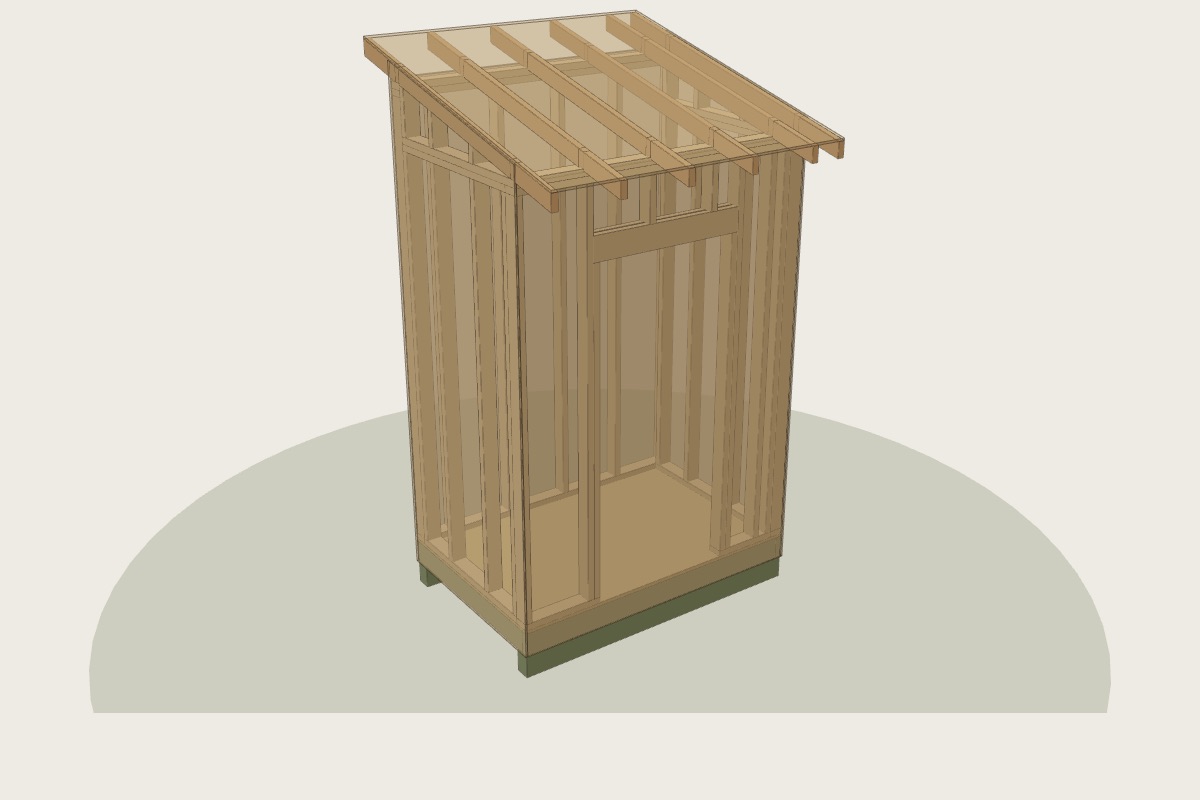
Shopping list
Short pieces are cut from the offcuts of longer boards. Buy one spare of each size.
Parts and cut list
Cut every part, then pencil its letter on it. The steps call parts by letter.
| Part | Qty | Size | Length | Piece | How to cut |
|---|---|---|---|---|---|
| A | 2 | PT 4x6 | 72" | Skid | square both ends |
| B | 2 | PT 2x6 | 70-1/2" | Rim joist | square ends; laps the next piece at the corner |
| C | 2 | PT 2x6 | 46-1/2" | Rim joist | square ends; laps the next piece at the corner |
| D | 6 | PT 2x6 | 45" | Floor joist | square both ends |
| E | 2 | 2x6 | 37" | Header ply | square; two plies with a 1/2" plywood spacer |
| F | 3 | 2x4 | 92-5/8" | Stud | square both ends |
| G | 2 | 2x4 | 92-5/8" | King stud | square both ends |
| H | 2 | 2x4 | 76-1/2" | Jack stud | square both ends |
| J | 1 | 2x4 | 68-1/2" | Top plate | square ends; laps the next piece at the corner |
| K | 1 | 2x4 | 19" | Bottom plate | square ends; laps the next piece at the corner |
| L | 1 | 2x4 | 15-1/2" | Bottom plate | square ends; laps the next piece at the corner |
| M | 2 | 2x4 | 10-5/8" | Cripple | square both ends |
| N | 4 | 2x4 | 92-5/8" | Stud | square both ends |
| P | 1 | 2x4 | 44-1/2" | Bottom plate | square ends; laps the next piece at the corner |
| Q | 1 | 2x4 | 44-1/2" | Top plate | square ends; laps the next piece at the corner |
| R | 6 | 2x4 | 103-3/4" | Stud | square both ends |
| S | 1 | 2x4 | 72" | Bottom plate | square ends; laps the next piece at the corner |
| T | 1 | 2x4 | 72" | Top plate | square ends; laps the next piece at the corner |
| U | 4 | 2x4 | 92-5/8" | Stud | square both ends |
| V | 1 | 2x4 | 41" | Bottom plate | square ends; laps the next piece at the corner |
| W | 1 | 2x4 | 41" | Top plate | square ends; laps the next piece at the corner |
| X | 1 | 2x4 | 72" | Cap plate | laps over the next wall at the corner |
| Y | 1 | 2x4 | 68-1/2" | Cap plate | laps over the next wall at the corner |
| Z | 1 | 2x4 | 44-1/2" | Cap plate | laps over the next wall at the corner |
| AA | 1 | 2x4 | 41" | Cap plate | laps over the next wall at the corner |
| AB | 6 | 2x4 | 75-1/16" | Common rafter | plumb cuts 3/12 at both tails; birdsmouth seat 1-1/2", heel 3/8"; tail plumb cut 12" past the wall |
| AC | 2 | 2x4 | 10-3/4" | Rake stud | top cut 3/12 (14.0°), long point up |
| AD | 2 | 2x4 | 7-13/16" | Rake stud | top cut 3/12 (14.0°), long point up |
| AE | 2 | 2x4 | 3-13/16" | Rake stud | top cut 3/12 (14.0°), long point up |
Step by step
New pieces are in colour with their letters. Work already done is greyed out. Open it in the builder to turn the model and print the manual.
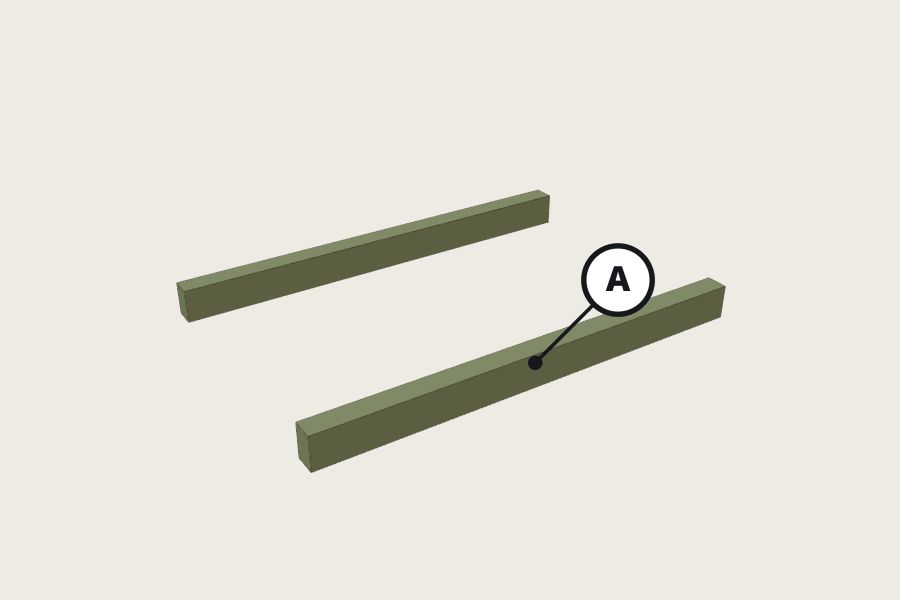
Lay the skids
A ×2 4x6 72"
- Compact 4" of gravel 2 ft past the footprint.
- Lay A parallel, level within 1/4".
rakelevel
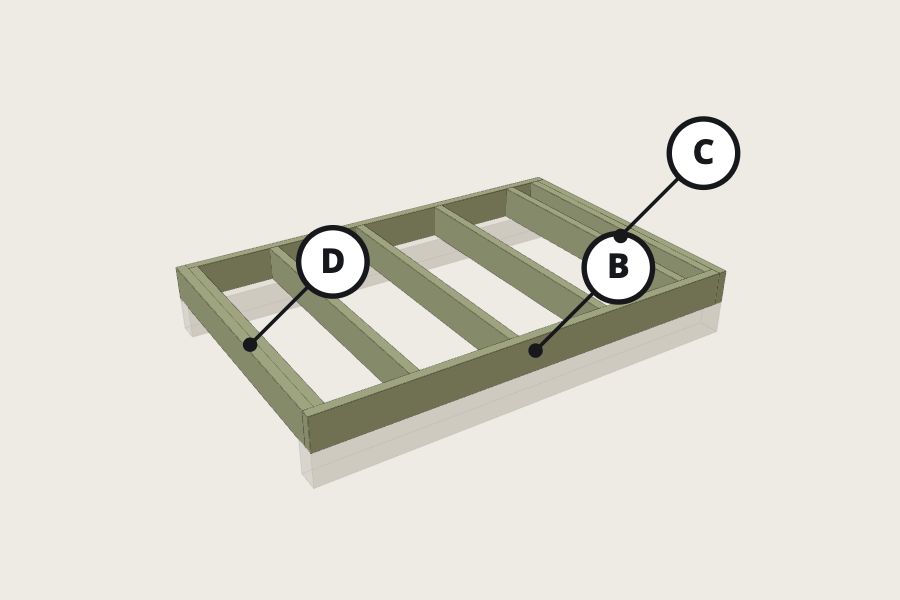
Frame the floor
B ×2 2x6 70-1/2"C ×2 2x6 46-1/2"D ×6 2x6 45"
- Rims B, C around the outside, corners lapped as drawn.
- Mark joists every 16" along the rims.
- Joists D between the rims: 3 nails each end.
- Measure both diagonals. Equal = square.
sawhammersquaretape
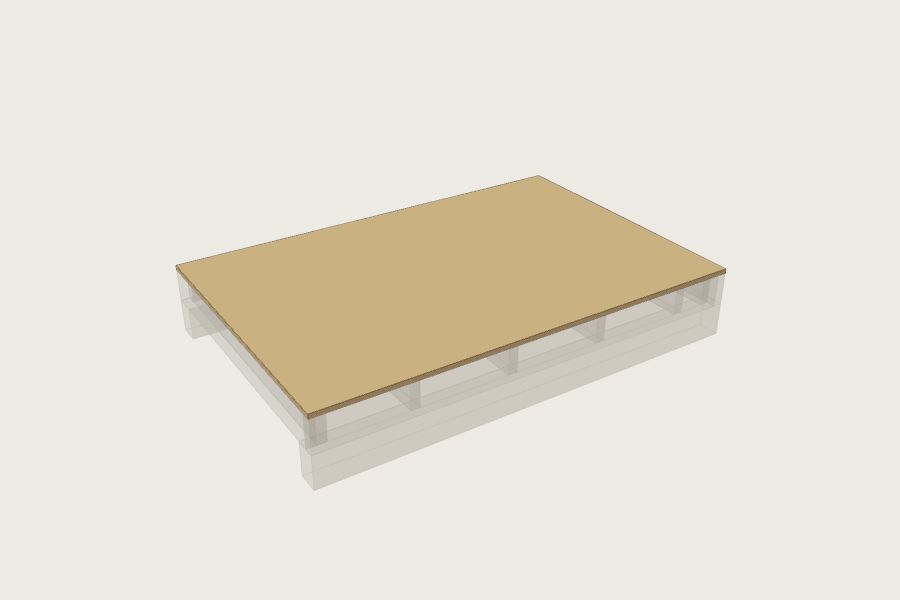
Lay the subfloor
- Long edge across the joists, rows staggered 4 ft.
- Glue on every joist. Screws 6" on edges, 12" in the middle.
drillsawchalk line
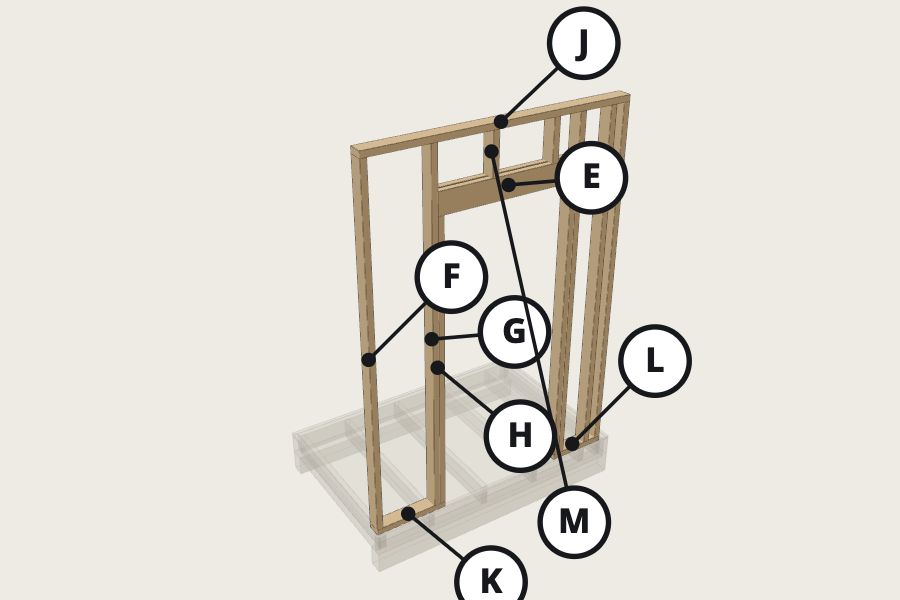
Build the front wall
E ×2 2x6 37"F ×3 2x4 92-5/8"G ×2 2x4 92-5/8"H ×2 2x4 76-1/2"J ×1 2x4 68-1/2"K ×1 2x4 19"L ×1 2x4 15-1/2"M ×2 2x4 10-5/8"
- Lay bottom and top plates side by side on the floor.
- Mark stud left edges from the left end (outside view): 0" · 15-1/4" · 31-1/4" · 47-1/4" · 63-1/4" · 67"
- Frame the 34" × 78" door: kings, jacks, header.
- Nail 2 × 16d through the plates into each stud end.
- Equal diagonals, stand it up, plumb, brace.
sawhammerlevelsquare
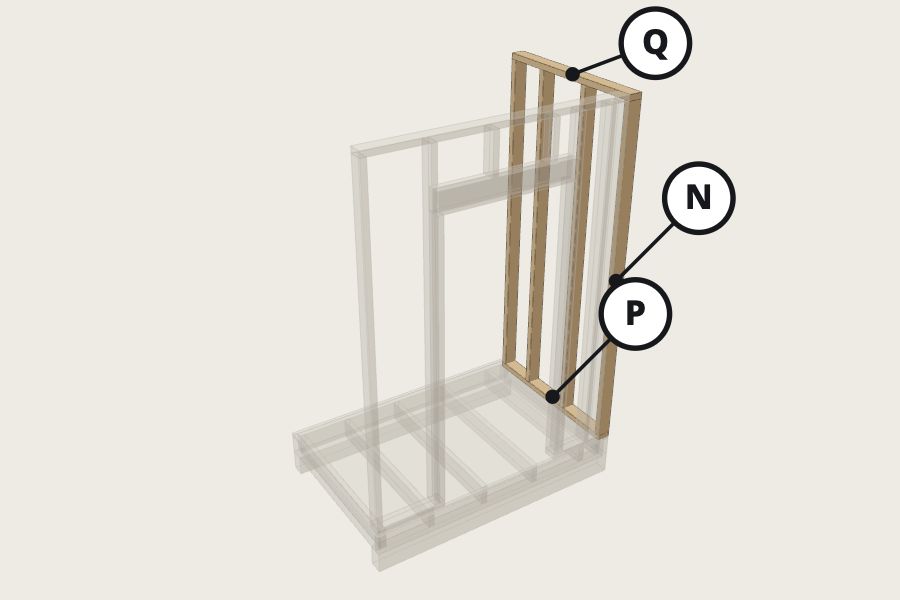
Build the right wall
N ×4 2x4 92-5/8"P ×1 2x4 44-1/2"Q ×1 2x4 44-1/2"
- Lay bottom and top plates side by side on the floor.
- Mark stud left edges from the left end (outside view): 0" · 15-1/4" · 31-1/4" · 43"
- Nail 2 × 16d through the plates into each stud end.
- Equal diagonals, stand it up, plumb, brace.
sawhammerlevelsquare
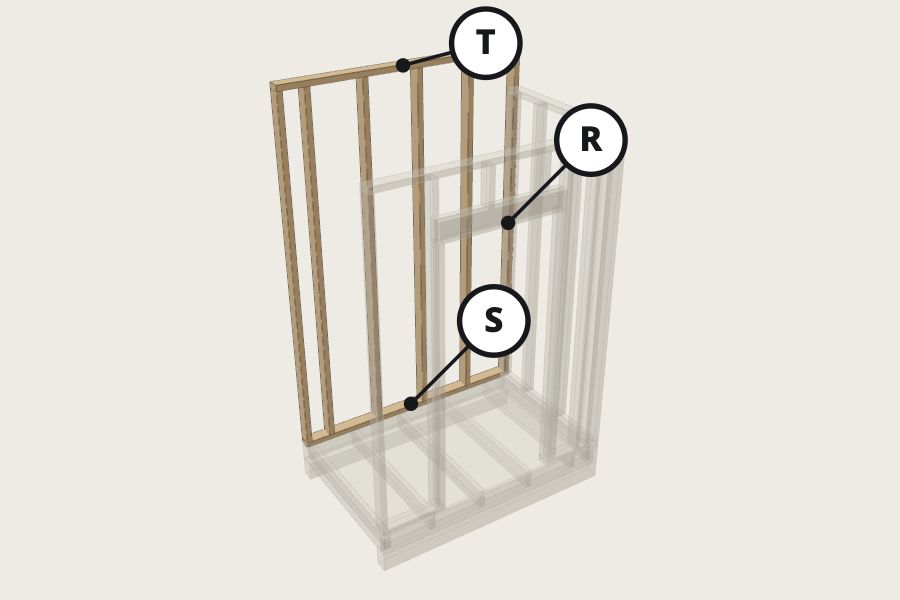
Build the back wall
R ×6 2x4 103-3/4"S ×1 2x4 72"T ×1 2x4 72"
- Lay bottom and top plates side by side on the floor.
- Mark stud left edges from the left end (outside view): 0" · 15-1/4" · 31-1/4" · 47-1/4" · 63-1/4" · 70-1/2"
- Nail 2 × 16d through the plates into each stud end.
- Equal diagonals, stand it up, plumb, brace.
sawhammerlevelsquare
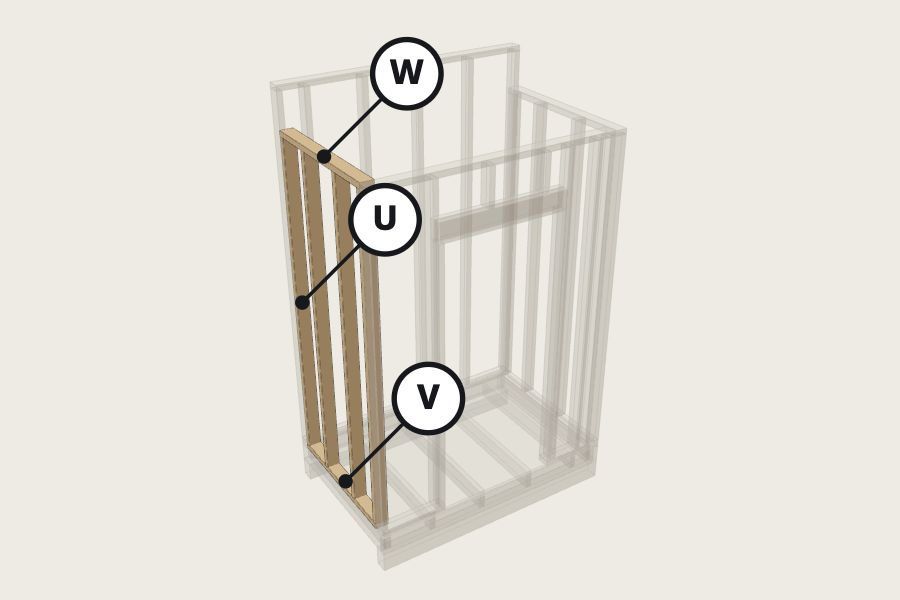
Build the left wall
U ×4 2x4 92-5/8"V ×1 2x4 41"W ×1 2x4 41"
- Lay bottom and top plates side by side on the floor.
- Mark stud left edges from the left end (outside view): 3-1/2" · 15-1/4" · 31-1/4" · 43"
- Nail 2 × 16d through the plates into each stud end.
- Equal diagonals, stand it up, plumb, brace.
sawhammerlevelsquare
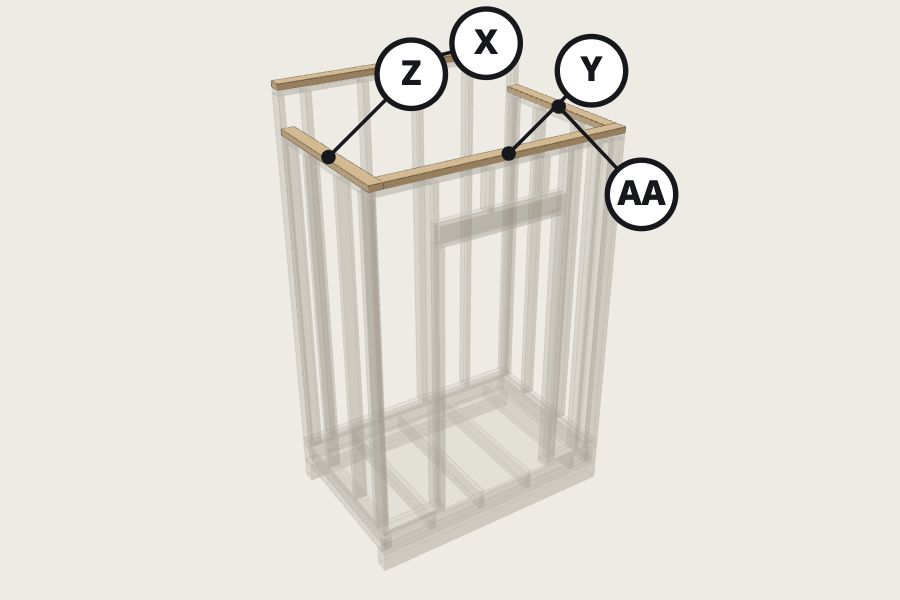
Lap the cap plates
X ×1 2x4 72"Y ×1 2x4 68-1/2"Z ×1 2x4 44-1/2"AA ×1 2x4 41"
- Cap plates overlap every corner. That ties the walls into one box.
- Nails every 16", two at each lap.
hammer
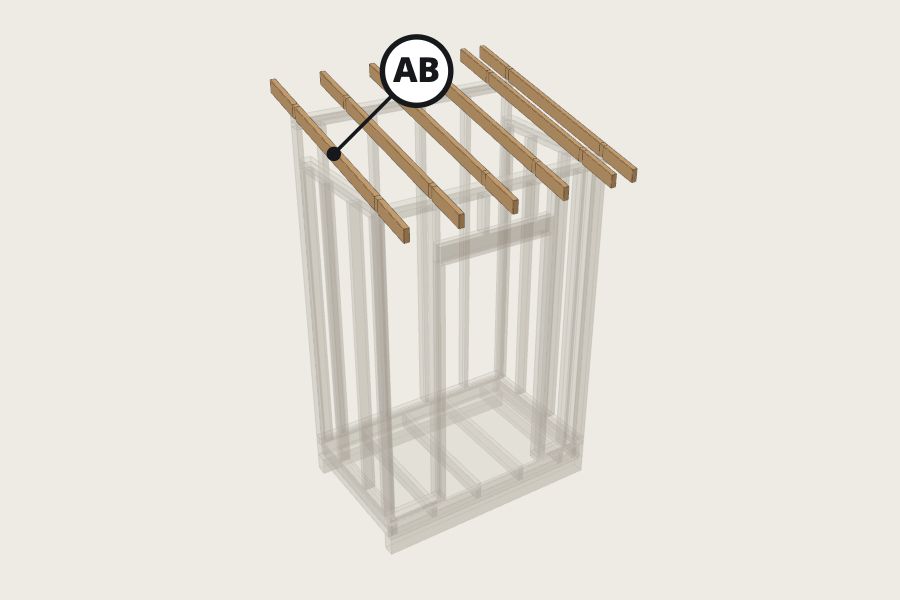
Set the rafters
AB ×6 2x4 75-1/16"
- Cut ONE pattern rafter. Check it in three places. Then cut the rest.
- Every 16", over the studs.
- Hurricane tie every rafter to the plate.
speed squaresawdrill
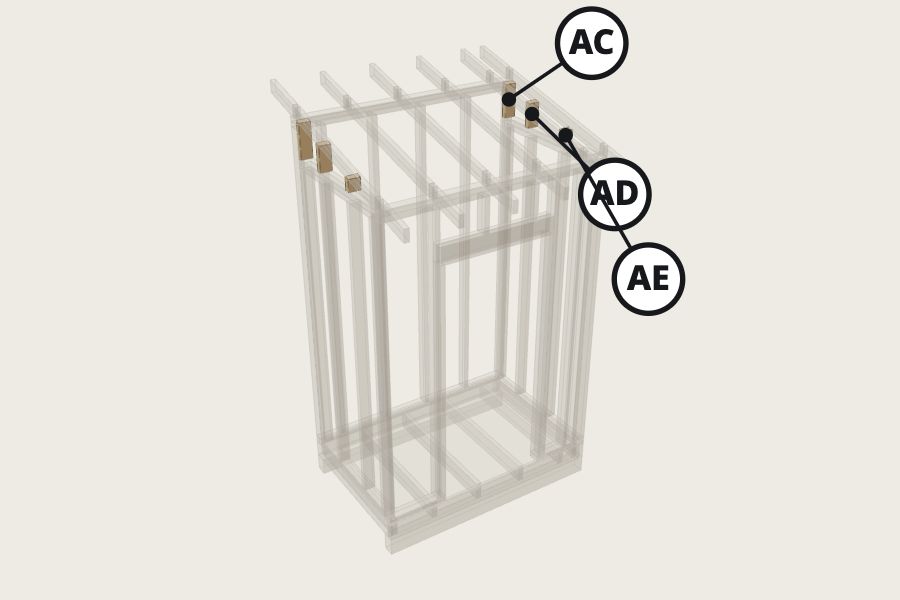
Fill the end walls
AC ×2 2x4 10-3/4"AD ×2 2x4 7-13/16"AE ×2 2x4 3-13/16"
- Studs every 16" from the cap up to the rafter.
- Measure each in place. Long point up.
speed squaresaw
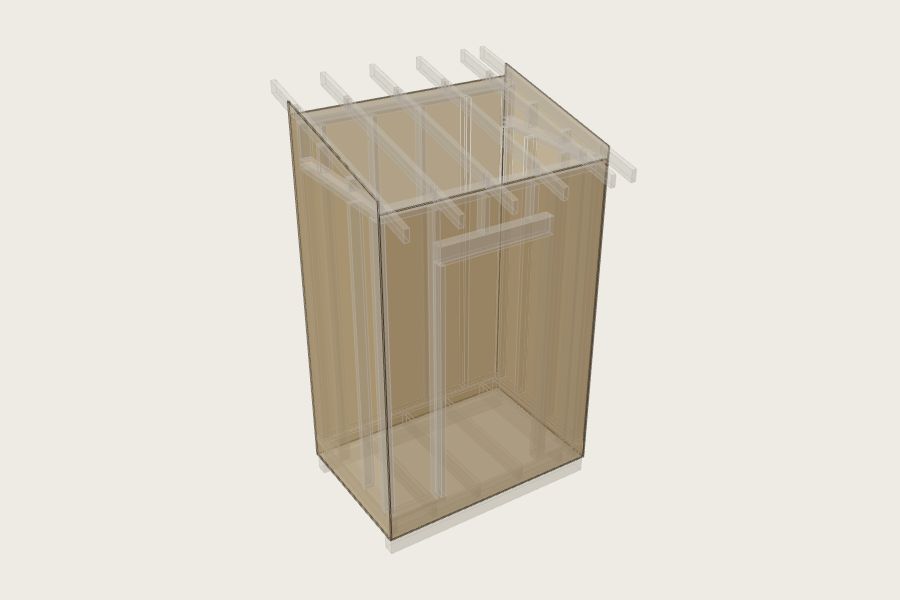
Sheath the walls
- Sheets vertical, edges on studs, 1/8" gaps.
- Nails 6" on edges, 12" in the middle. Cut out the openings after.
sawnailerchalk line
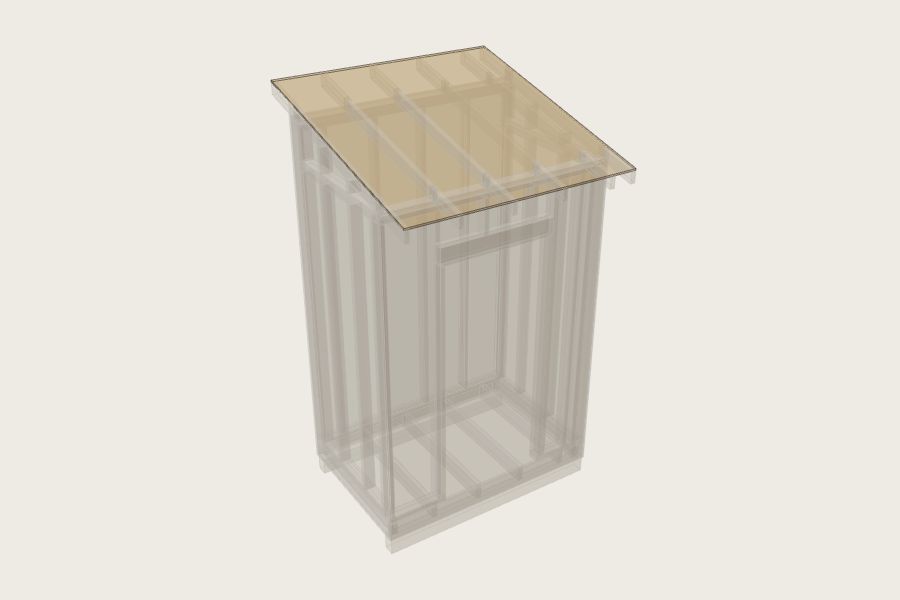
Sheath the roof
- Long edge across the rafters, H-clips between, rows staggered.
- Drip edge, underlayment, drip edge, shingles.
sawnailer
The proof
Every member was sized by calculation, and the 3D model was tested piece against piece. These are the results for this plan.
✓ No two pieces occupy the same space
All 68 pieces tested pairwise as exact solids (mitres, birdsmouths, cheek cuts, notched stringers): no overlap deeper than 1/50".
✓ Every piece is connected to the ground
All 68 pieces trace a chain of contact down to the foundation.
✓ Floor joists 2x6 17% used
2x6 SPF #2, span 3.71 ft, w = 67 plf total / 53 plf live
Bending: M = wL²/8 = 1375 in·lb → fb = M/S = 182 psi ≤ F'b = 1308 psi  (14% used)
Shear: fv = 1.5V/A = 22 psi ≤ F'v = 135 psi  (17% used)
Deflection: 5wL⁴/384EI = 0.008" ≤ L/360 = 0.124"  (6% used)
✓ Rafters 2x4 16% used
2x4 SPF #2, span 3.71 ft, w = 42 plf total / 28 plf live
Bending: M = wL²/8 = 861 in·lb → fb = M/S = 281 psi ≤ F'b = 1736 psi  (16% used)
Shear: fv = 1.5V/A = 22 psi ≤ F'v = 155 psi  (14% used)
Deflection: 5wL⁴/384EI = 0.016" ≤ L/240 = 0.185"  (9% used)
✓ Header over door (front) 2x6 8% used
2-ply 2x6 SPF #2, span 3.08 ft, w = 94 plf total / 63 plf live
Bending: M = wL²/8 = 1339 in·lb → fb = M/S = 89 psi ≤ F'b = 1308 psi  (7% used)
Shear: fv = 1.5V/A = 13 psi ≤ F'v = 155 psi  (8% used)
Deflection: 5wL⁴/384EI = 0.002" ≤ L/240 = 0.154"  (1% used)
✓ Studs (front wall) 53% used
2x4 SPF #2, unbraced length 92.6" (le/d = 26.5 ≤ 50)
F*c = 1521 psi, FcE = 0.822·Emin/(le/d)² = 599 psi → Cp = 0.355
Capacity = Cp·F*c·A = 2831 lb ≥ load 125 lb  (4% used)
✓ Studs (back wall) 59% used
2x4 SPF #2, unbraced length 103.8" (le/d = 29.6 ≤ 50)
F*c = 1521 psi, FcE = 0.822·Emin/(le/d)² = 477 psi → Cp = 0.290
Capacity = Cp·F*c·A = 2316 lb ≥ load 125 lb  (5% used)
✓ Birdsmouth notch shear (rafters) 2x4 32% used
Heel cut 3/8" plumb leaves dn = 3.14" of the 3.5" depth over the bearing.
NDS 3.4.3.2 notched end: V'r = 2/3 · F'v · b · dn · (dn/d)² = 391 lb ≥ reaction 125 lb (32% used)
Roof: 10 psf dead + snow 0.7 × 30 = 21 psf. Floor: 40 psf live + 10 psf dead. 2 skids on 4" of compacted gravel, level within 1/4".
Questions
How much lumber does a 4x6 Lean-To Shed need?
29 2x4 × 8′, 6 2x4 × 10′, 1 2x6 × 8′, 6 PT 2x6 × 8′, 2 PT 4x6 × 8′. 1 3/4" T&G plywood subfloor, 4×8; 7 7/16" OSB wall sheathing, 4×8 (10% waste); 2 1/2" OSB roof sheathing, 4×8 (15% waste).
What size rafters does a 4x6 Lean-To Shed need?
2x4 at 16″ on center, using 16% of their capacity at 30 psf ground snow. The bending, shear and deflection numbers are in the proof section.
What size joists does a 4x6 Lean-To Shed need?
2x6 at 16″ on center, using 17% of capacity at 40 psf live load.
How tall is it?
10′ 7-5/8″ at the peak, measured from the ground.
Do I need a permit for a 4x6 Lean-To Shed?
It covers 24 sq ft. The model code (IRC R105.2) exempts one-story detached accessory buildings up to 200 sq ft, and many towns set the line at 120 sq ft. Call your building department before you dig.
Can I change the size or add a door?
Yes. Open the plan in the builder, change any number, and the cuts, shopping list and checks update instantly.
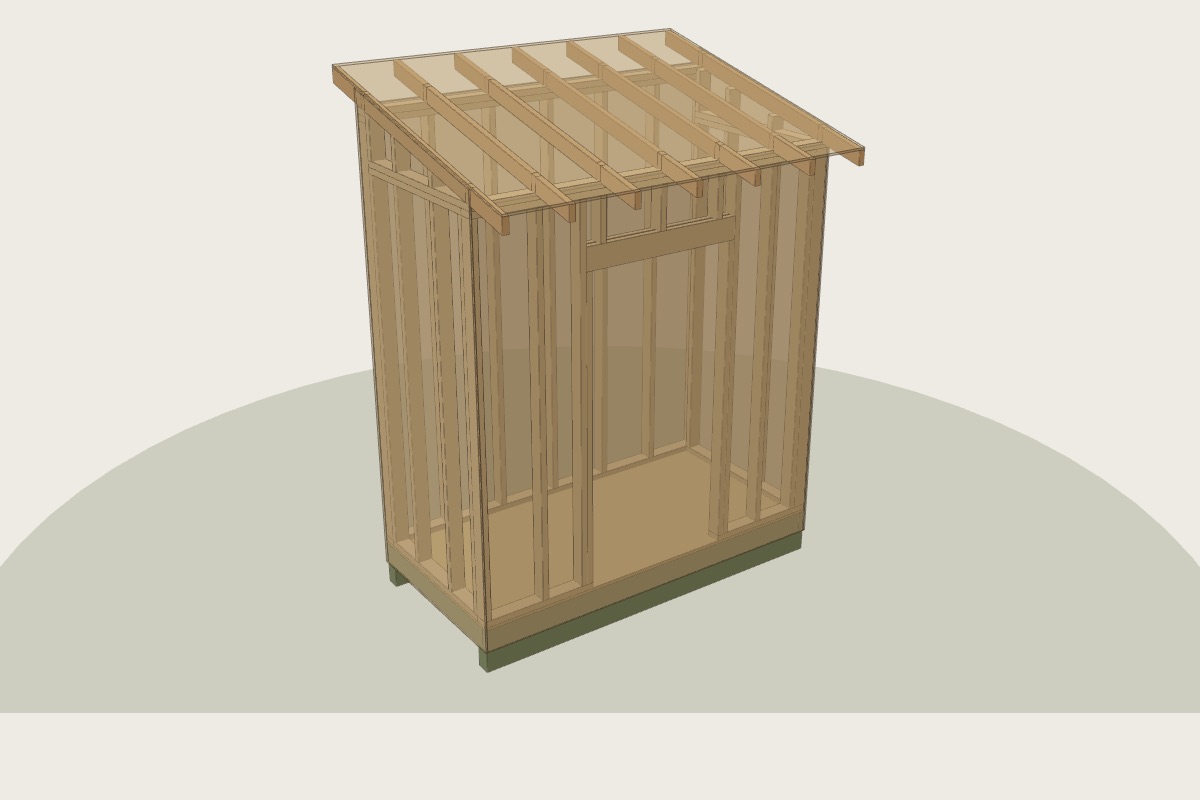 4×8 Lean-To Shed
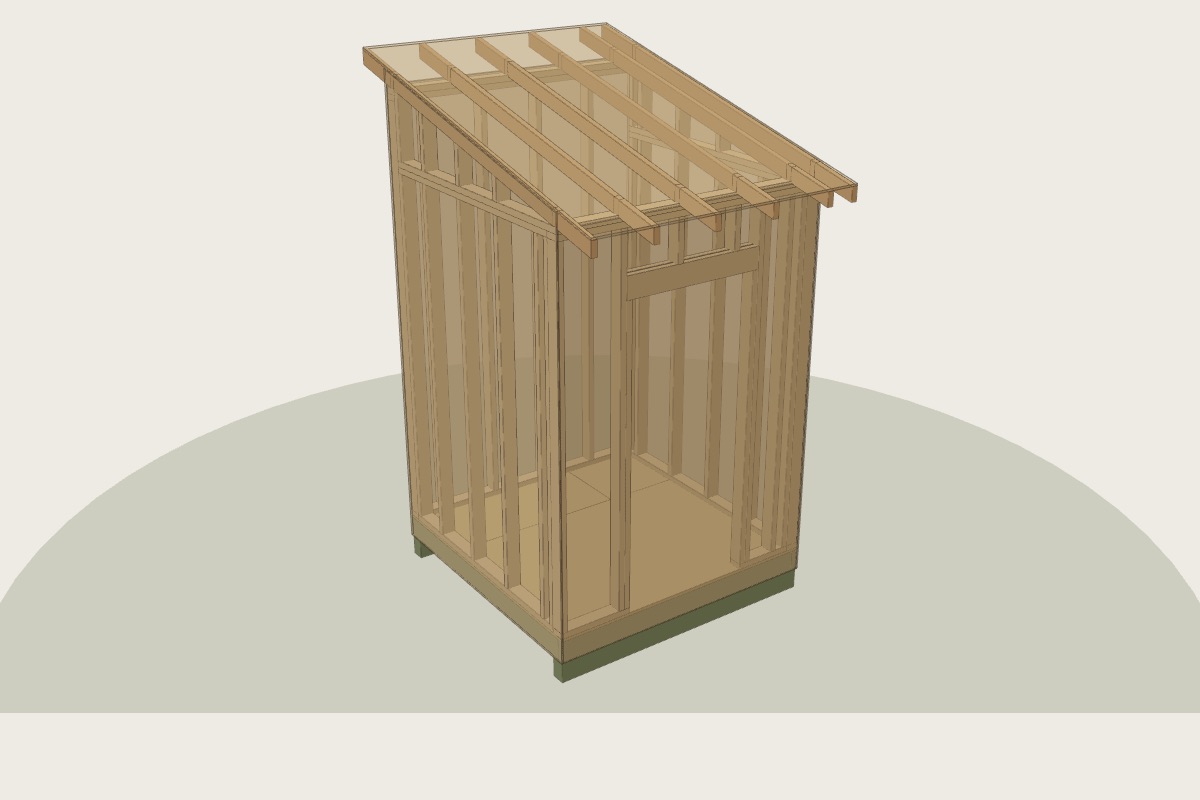 6×6 Lean-To Shed
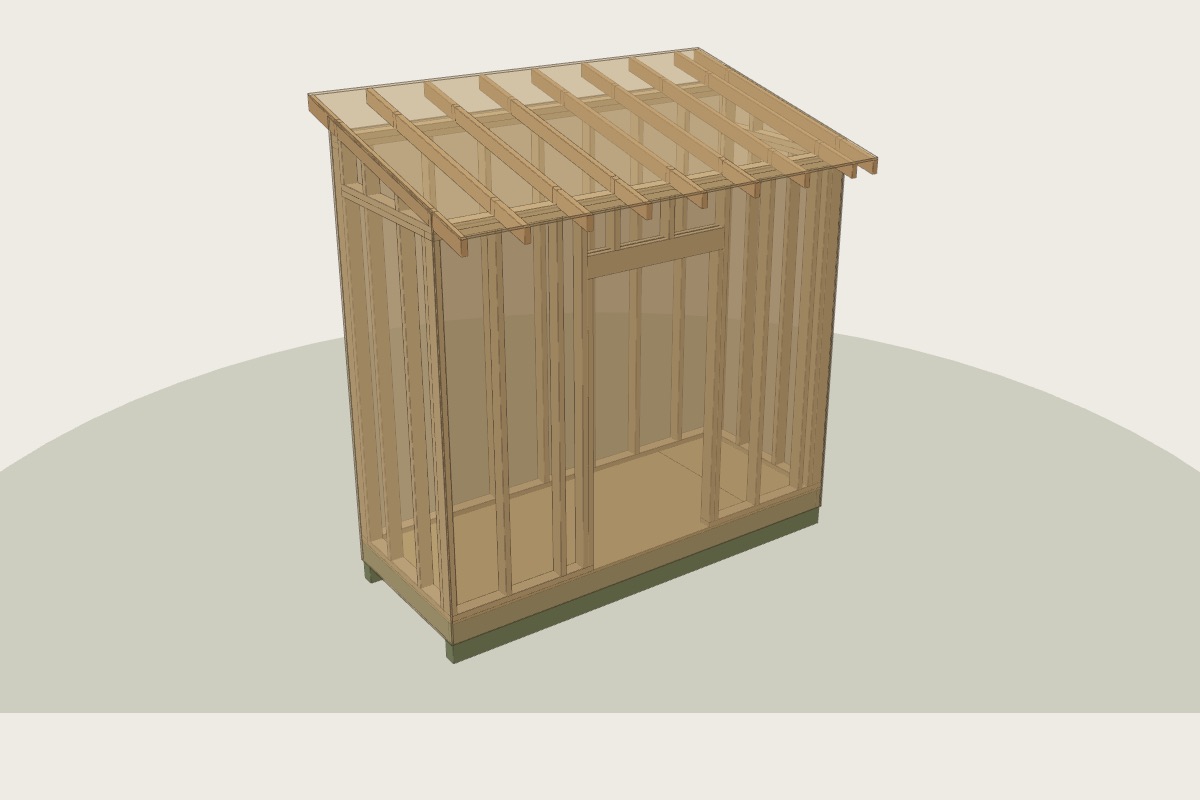 4×10 Lean-To Shed
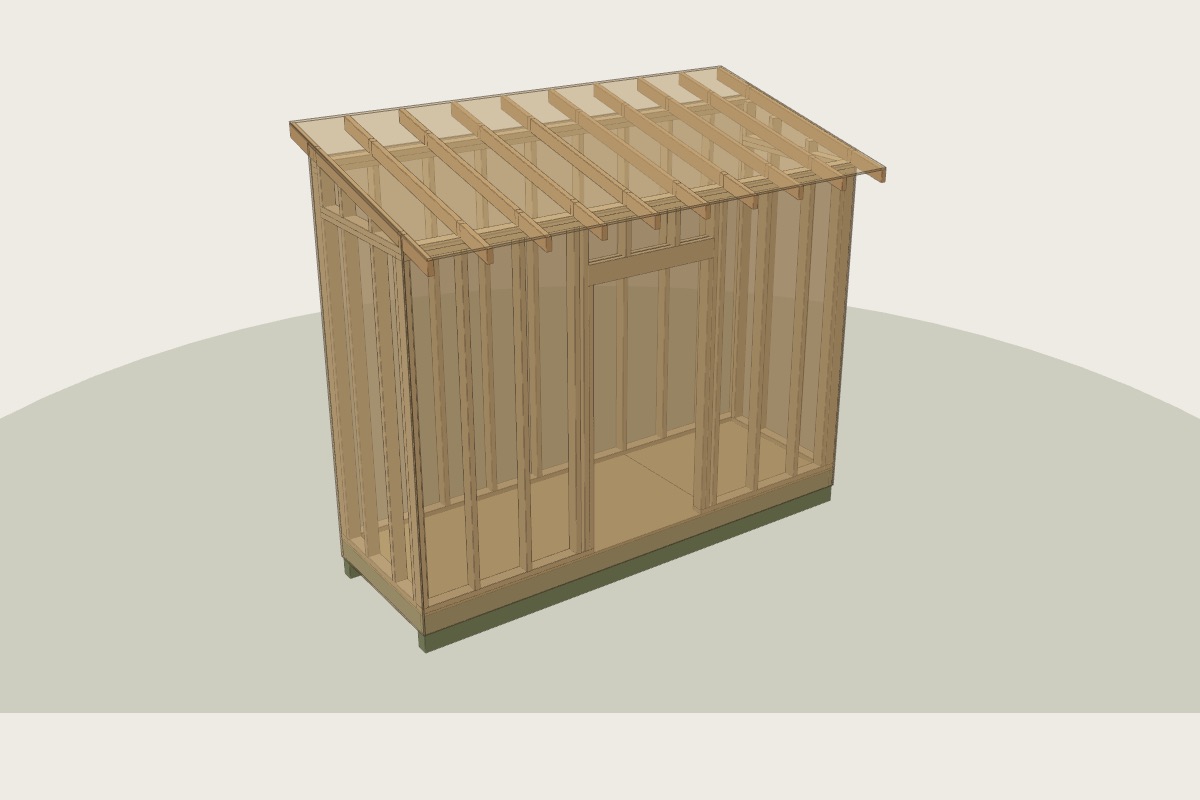 4×12 Lean-To Shed
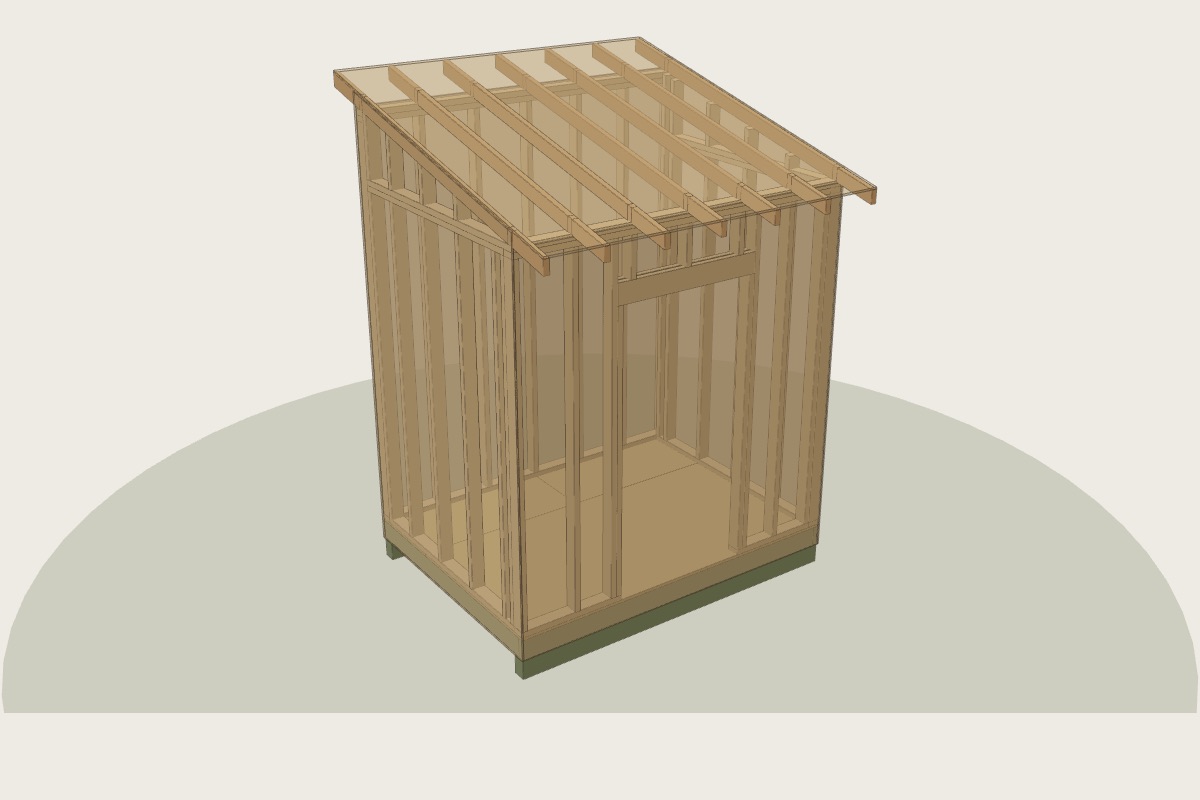 6×8 Lean-To Shed
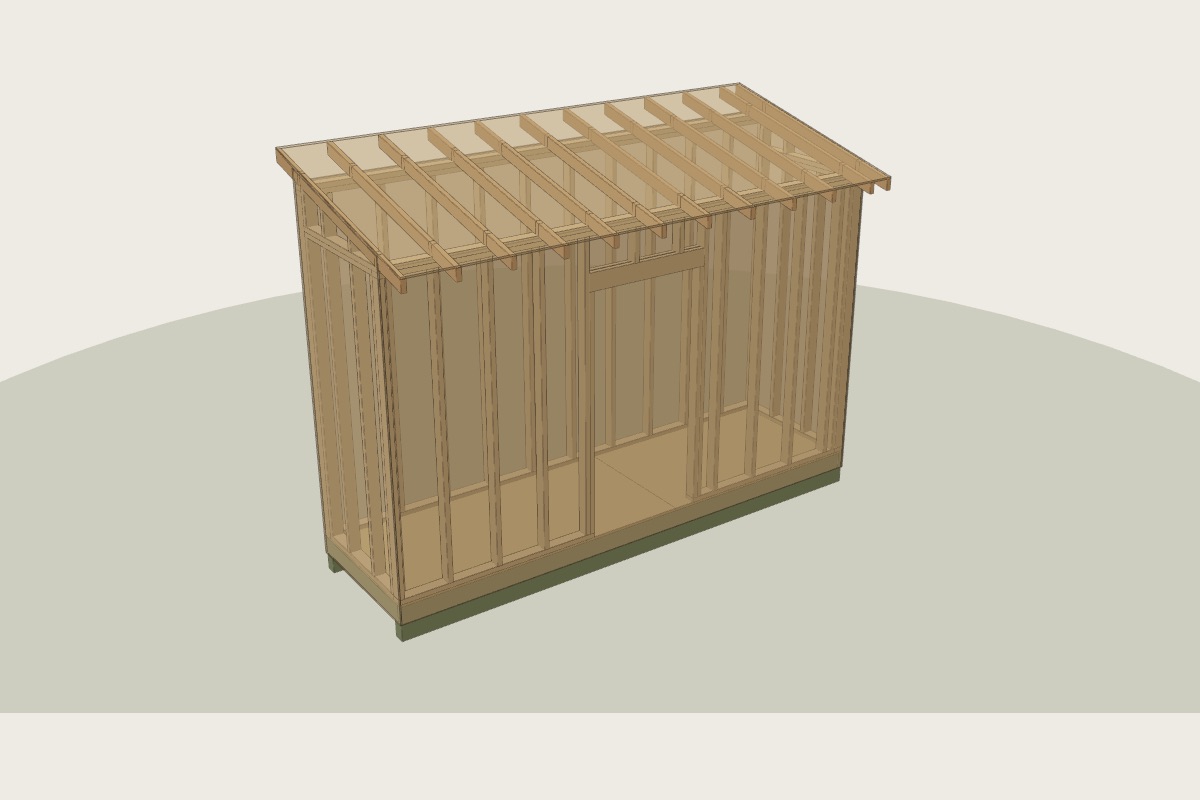 4×14 Lean-To Shed