
16′ Hexagon Gazebo Plans
This 16′ hexagon gazebo has 6 posts, a doubled ring beam and a 8/12 pyramid roof that peaks at 14′ 1-1/2″. Hip rafters run from each corner to a center hub, with 2x8 rafters filling each side. All 166 pieces of lumber are lettered below with their lengths and cuts, and the shopping list comes to 97 boards plus sheet goods and hardware.
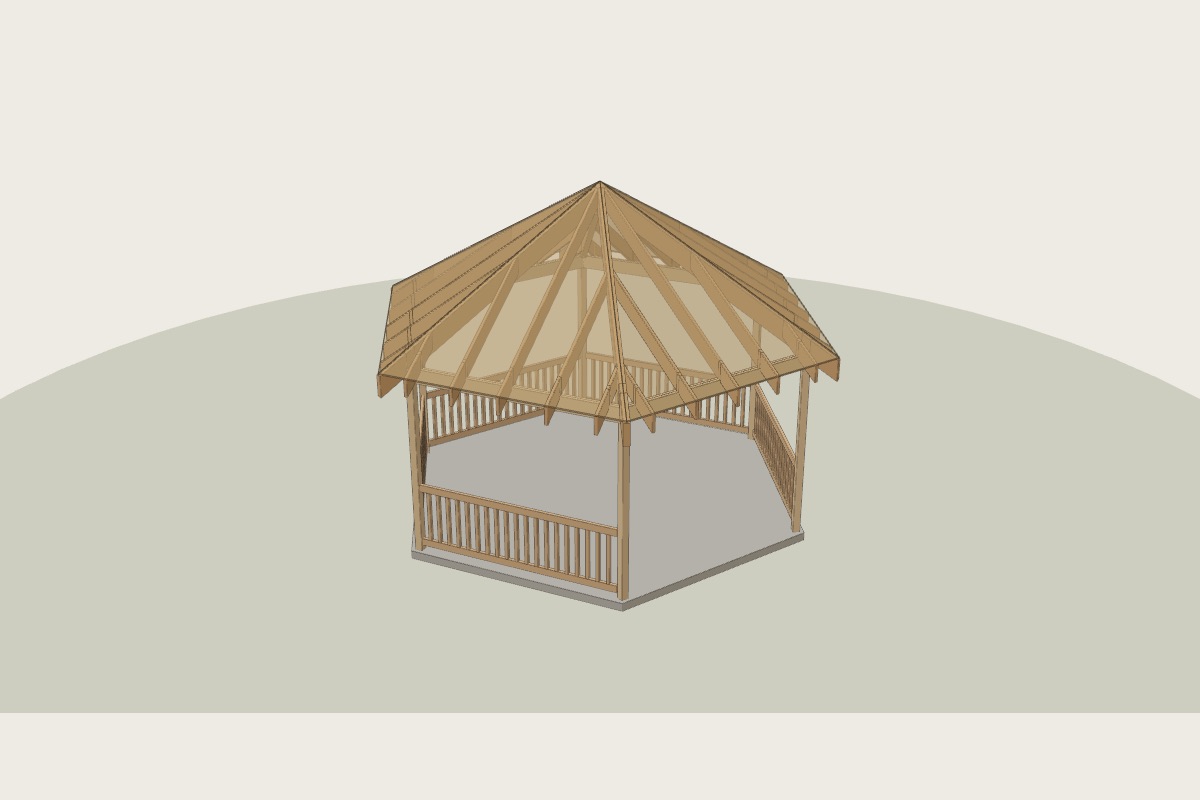
Shopping list
Short pieces are cut from the offcuts of longer boards. Buy one spare of each size.
Parts and cut list
Cut every part, then pencil its letter on it. The steps call parts by letter.
| Part | Qty | Size | Length | Piece | How to cut |
|---|---|---|---|---|---|
| A | 6 | PT 4x4 | 89-7/8" | Corner post | square both ends |
| B | 6 | 2x8 | 111" | Ring beam ply | mitre both ends 30.0° |
| C | 6 | 2x8 | 109-1/4" | Ring beam ply | mitre both ends 30.0° |
| D | 1 | 6x6 | 15-3/4" | Hub block | 6-sided, 6-1/4" across the flats (glue up from 2x stock); top cut to a point at 8/12 |
| E | 12 | 2x10 | 145-15/16" | Hip rafter (2-ply) | two identical plies nailed face to face; plumb cuts at 6.93/12 (30.0°); top edge dropped 1/2"; birdsmouth seat 4-5/16" |
| F | 6 | 2x8 | 130-1/2" | Centre rafter | top: plumb cut 8/12 with 30.0° cheek cuts both sides (it sits between two hips); birdsmouth seat 1-1/2", heel 1"; tail plumb cut 12" past the wall |
| G | 12 | 2x8 | 82-13/16" | Jack rafter | top: plumb cut 8/12 plus a 30.0° cheek cut against the hip; birdsmouth seat 1-1/2", heel 1"; tail plumb cut 12" past the wall |
| H | 12 | 2x8 | 32-13/16" | Jack rafter | top: plumb cut 8/12 plus a 30.0° cheek cut against the hip; birdsmouth seat 1-1/2", heel 1"; tail plumb cut 12" past the wall |
| J | 5 | 2x4 | 104-7/16" | Bottom rail | square both ends |
| K | 5 | 2x4 | 104-7/16" | Top rail | square both ends |
| L | 95 | 2x2 | 26" | Baluster | square both ends |
Step by step
New pieces are in colour with their letters. Work already done is greyed out. Open it in the builder to turn the model and print the manual.
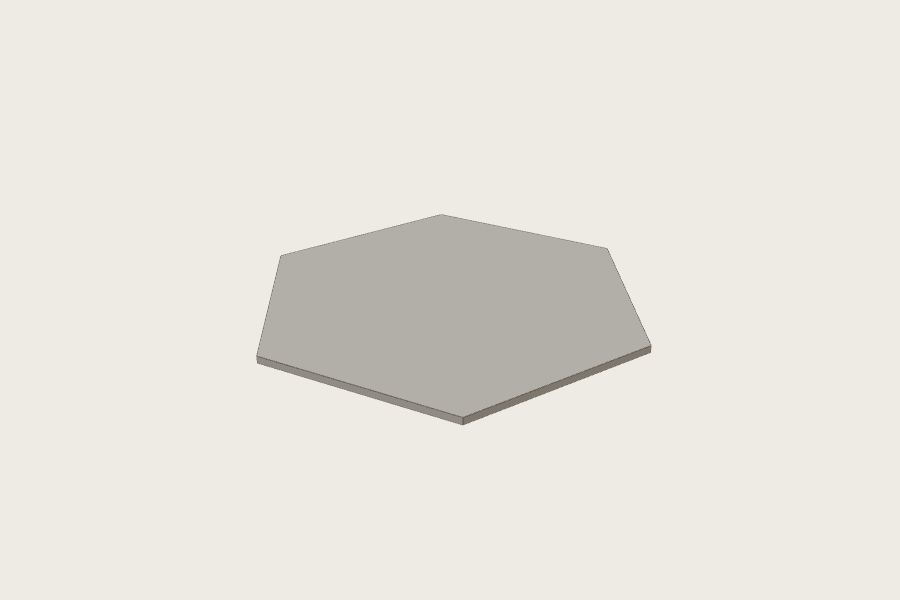
Pour the slab
- Form, gravel, pour a 4" slab with a thickened edge.
- Anchor bolts 6" from every plate end and every 6 ft.
floatlevel
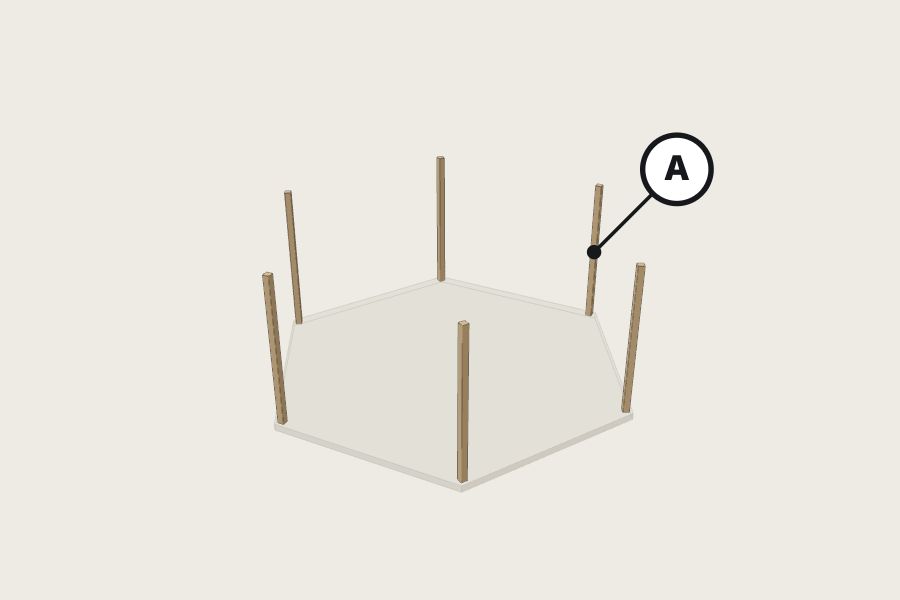
Stand the corner posts
A ×6 4x4 89-7/8"
- Posts A at every corner, outside faces flush with the edge.
- Plumb on two faces. Brace both ways.
leveldrill
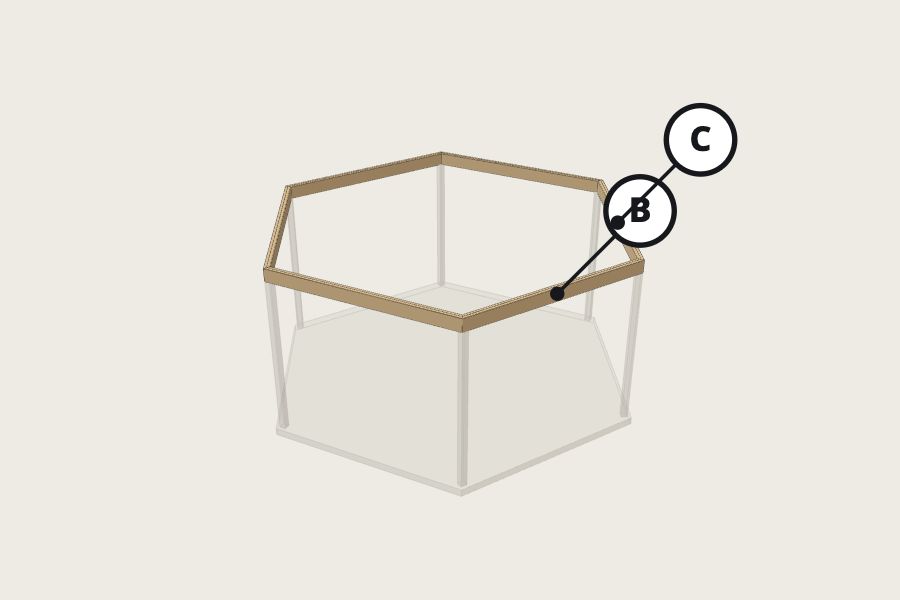
Put the ring beam on
B ×6 2x8 111"C ×6 2x8 109-1/4"
- Mitre every ply at the angle in the box. Nail plies in pairs.
- Set on the posts. Strap every mitre.
mitre sawhammer
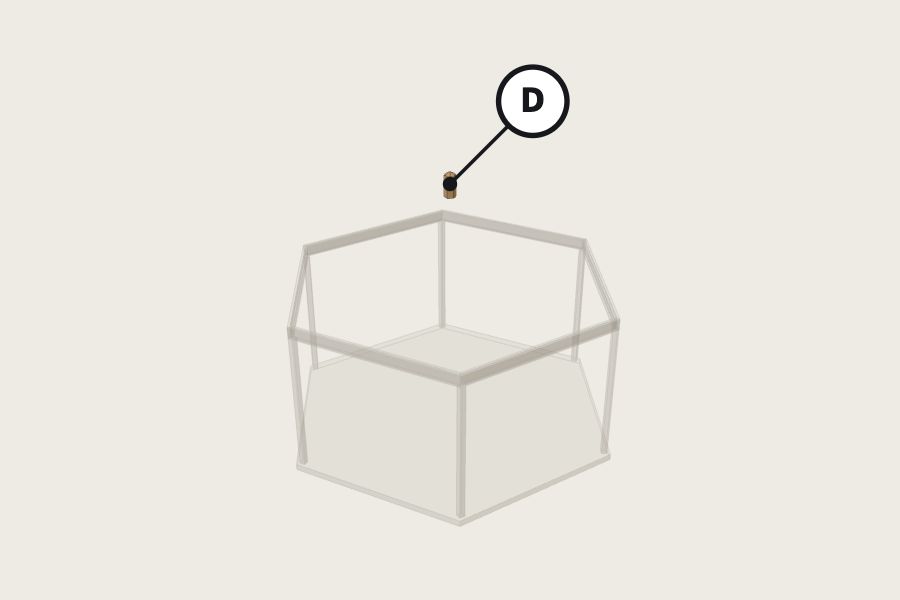
Make the hub
D ×1 6x6 15-3/4"
- Cut hub D: 6-sided, 6-1/4" across the flats (glue up from 2x stock); top cut to a point at 8/12.
- Hold it at the peak on a temporary centre post.
sawclamps
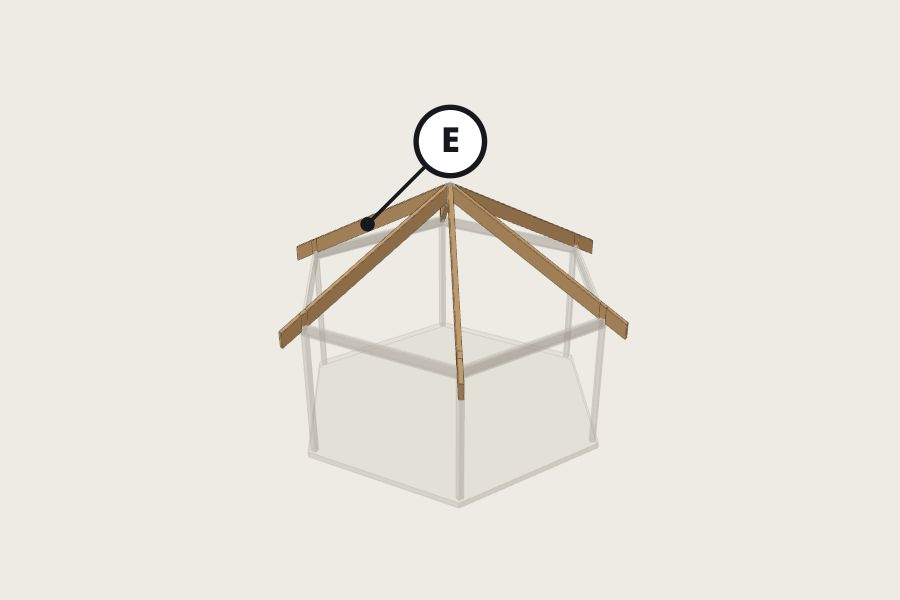
Set the hip rafters
E ×12 2x10 145-15/16"
- Cut ONE hip E. Test it, then cut the rest.
- Corner to hub. Set opposite pairs so the hub stays centred.
speed squaresawdrill
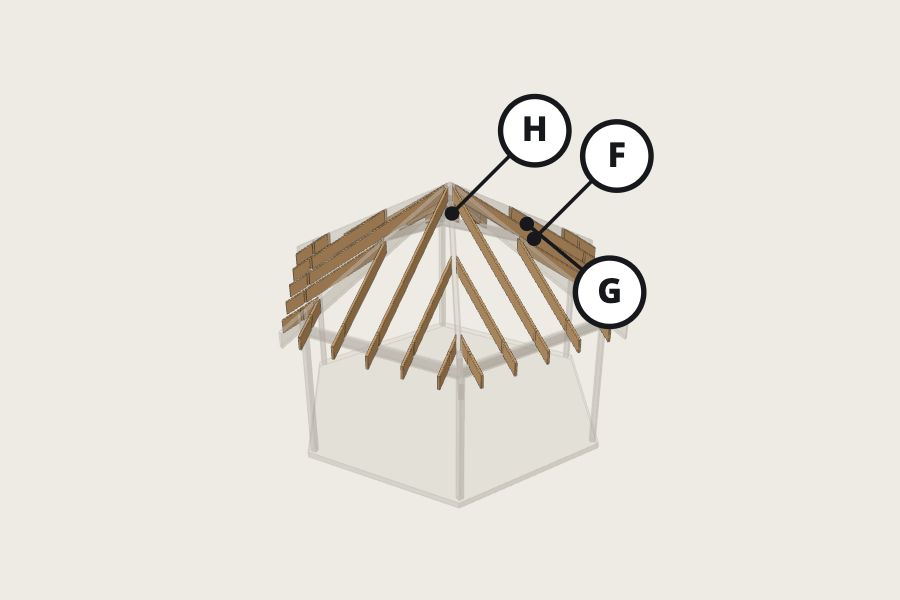
Fill in the rafters
F ×6 2x8 130-1/2"G ×12 2x8 82-13/16"H ×12 2x8 32-13/16"
- Cut ONE pattern rafter. Check it in three places. Then cut the rest.
- Jacks get a side (cheek) cut where they meet a hip.
- Hurricane tie every rafter to the plate.
speed squaresawdrill
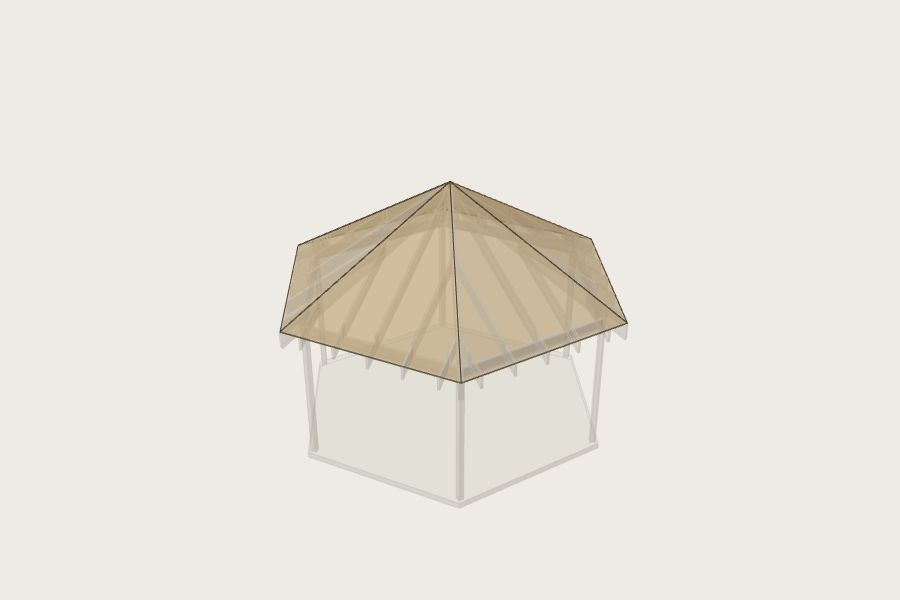
Sheath the roof
- Long edge across the rafters, H-clips between, rows staggered.
- Drip edge, underlayment, drip edge, shingles.
sawnailer
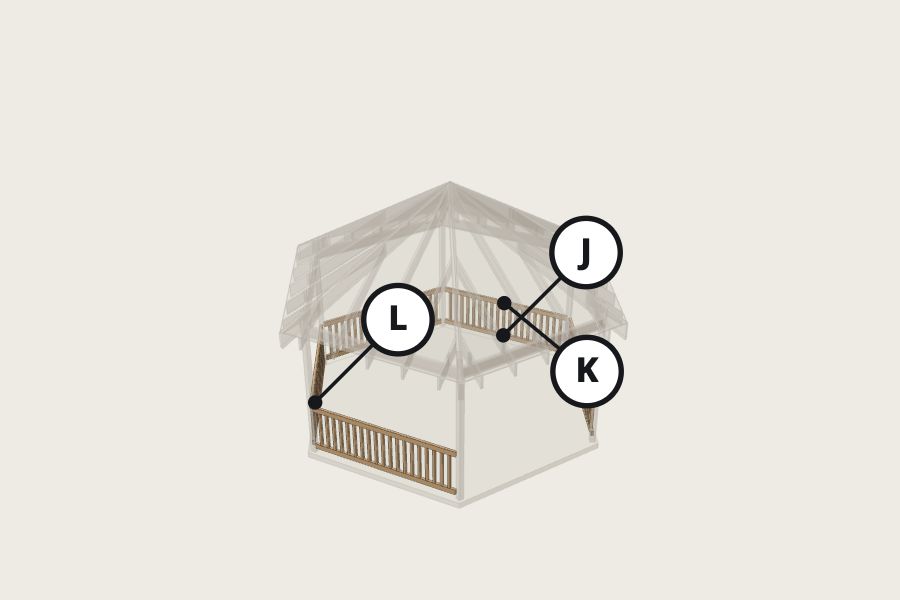
Add the railing
J ×5 2x4 104-7/16"K ×5 2x4 104-7/16"L ×95 2x2 26"
- Posts first. Then bottom and top rails.
- Balusters with a 3-7/8" spacer block between each.
- Cap last.
drillsawlevel
The proof
Every member was sized by calculation, and the 3D model was tested piece against piece. These are the results for this plan.
✓ No two pieces occupy the same space
All 166 pieces tested pairwise as exact solids (mitres, birdsmouths, cheek cuts, notched stringers): no overlap deeper than 1/50".
✓ Every piece is connected to the ground
All 167 pieces trace a chain of contact down to the foundation.
✓ Rafters 2x8 35% used
2x8 SPF #2, span 8.01 ft, w = 66 plf total / 42 plf live
Bending: M = wL²/8 = 6357 in·lb → fb = M/S = 484 psi ≤ F'b = 1389 psi  (35% used)
Shear: fv = 1.5V/A = 36 psi ≤ F'v = 155 psi  (23% used)
Deflection: 5wL⁴/384EI = 0.058" ≤ L/240 = 0.401"  (15% used)
Bending alone allows 2x6; stepped up to 2x8 so the birdsmouth notches pass shear.
✓ Ring beams (2-ply) 2x8 98% used
2-ply 2x8 SPF #2, span 9.25 ft, w = 241 plf total / 153 plf live
Bending: M = wL²/8 = 30961 in·lb → fb = M/S = 1178 psi ≤ F'b = 1208 psi  (98% used)
Shear: fv = 1.5V/A = 77 psi ≤ F'v = 155 psi  (50% used)
Deflection: 5wL⁴/384EI = 0.189" ≤ L/240 = 0.463"  (41% used)
✓ Corner posts 4x4 51% used
4x4 SPF #2, height 7.49 ft, le/d = 25.7 ≤ 50
FcE = 636 psi → Cp = 0.373 → capacity 6959 lb ≥ load 1529 lb (22% used)
✓ Outward thrust at the eaves (ring tension) 50% used
The roof pushes each corner outward 1147 lb (three-hinged arch: W·run / 2·rise).
The ring beam carries T = H / (2·sin(180°/6)) = 1147 lb of tension through every mitre.
So every mitre gets a steel strap rated ≥ 1150 lb allowable tension (in the shopping list).
✓ Birdsmouth notch shear (hip rafters) 2x10 66% used
Heel cut 3-7/16" plumb leaves dn = 6.25" of the 9.25" depth over the bearing.
NDS 3.4.3.2 notched end: V'r = 2/3 · F'v · b · dn · (dn/d)² = 885 lb ≥ reaction 583 lb (66% used)
✓ Birdsmouth notch shear (rafters) 2x8 31% used
Heel cut 1" plumb leaves dn = 6.42" of the 7.25" depth over the bearing.
NDS 3.4.3.2 notched end: V'r = 2/3 · F'v · b · dn · (dn/d)² = 781 lb ≥ reaction 239 lb (31% used)
Roof: 10 psf dead + snow 0.7 × 30 = 21 psf.
Questions
How much lumber does a 16′ Hexagon Gazebo need?
12 2x10 × 14′, 32 2x2 × 8′, 10 2x4 × 10′, 18 2x8 × 8′, 12 2x8 × 10′, 6 2x8 × 12′, 1 6x6 × 8′, 6 PT 4x4 × 8′. 13 1/2" OSB roof sheathing, 4×8 (15% waste); 12 bundles shingles (3.4 squares + 10%); 1 rolls synthetic underlayment.
What size rafters does a 16′ Hexagon Gazebo need?
2x8 at 24″ on center, using 35% of their capacity at 30 psf ground snow. The bending, shear and deflection numbers are in the proof section.
How tall is it?
14′ 1-1/2″ at the peak, measured from the ground.
Can I change the size or add a door?
Yes. Open the plan in the builder, change any number, and the cuts, shopping list and checks update instantly.
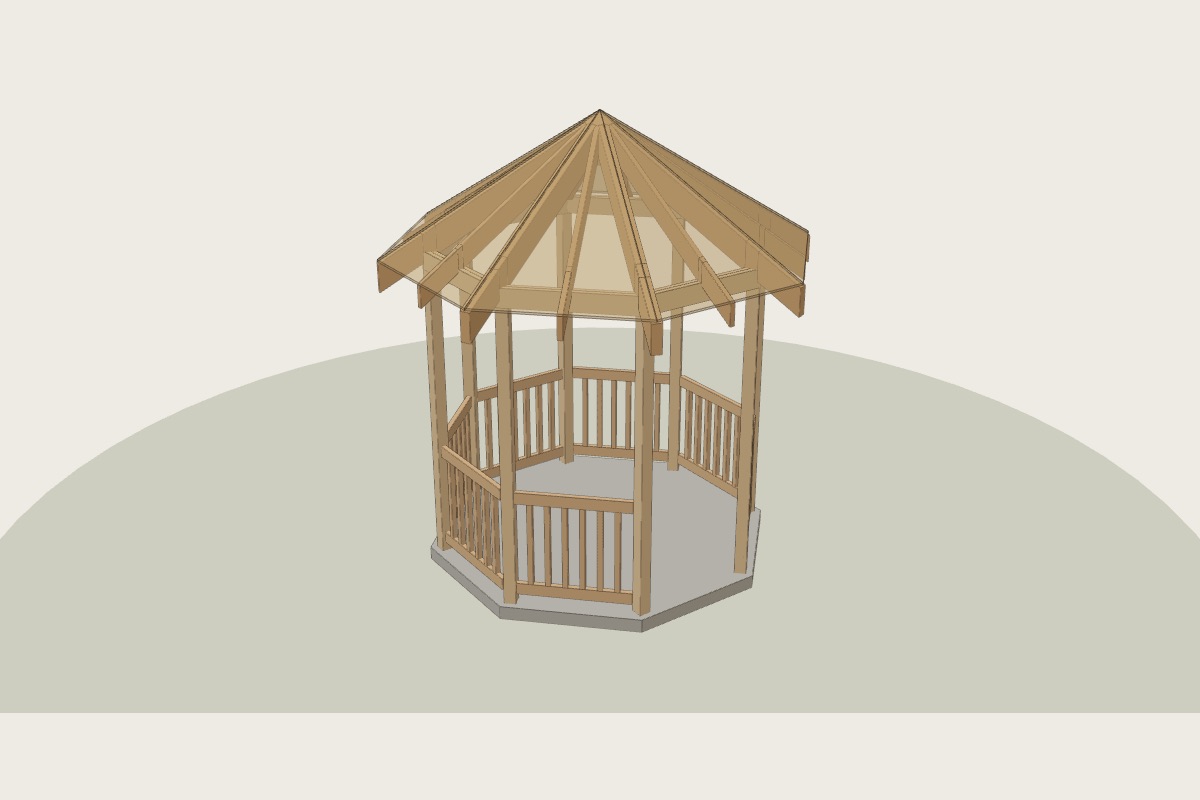 8′ Octagon Gazebo
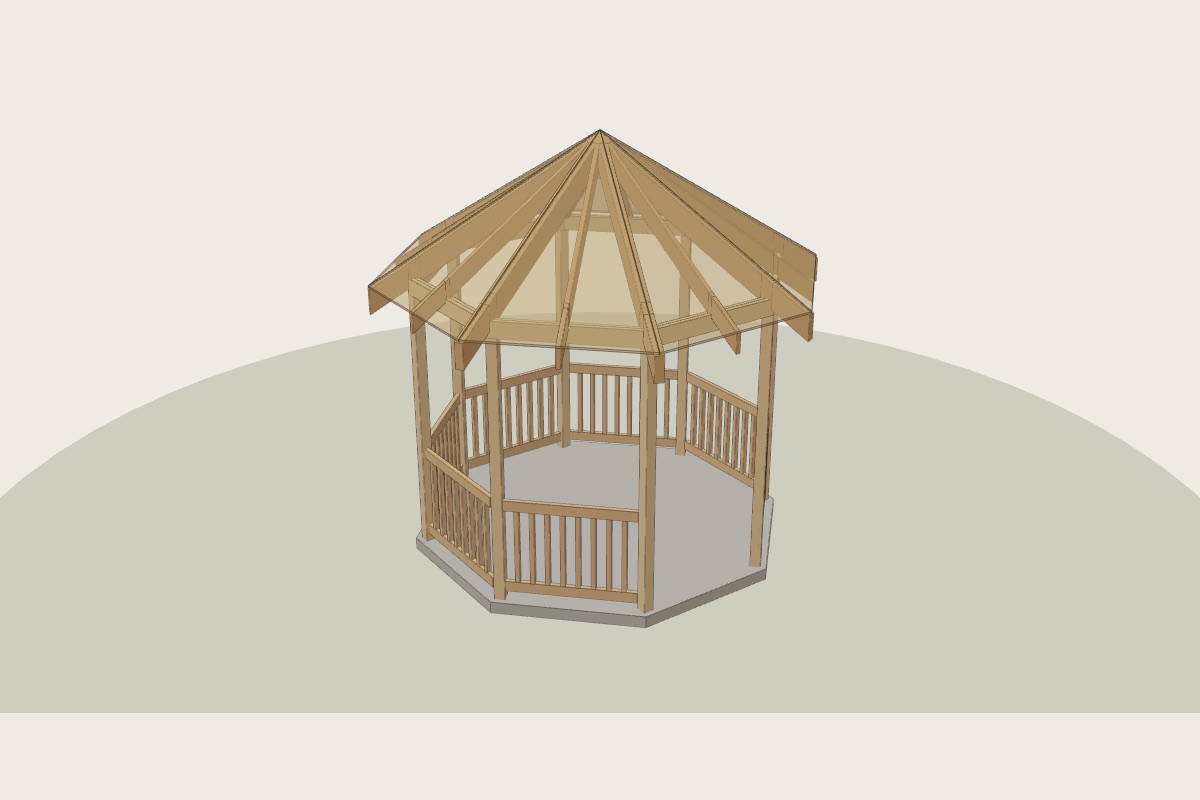 10′ Octagon Gazebo
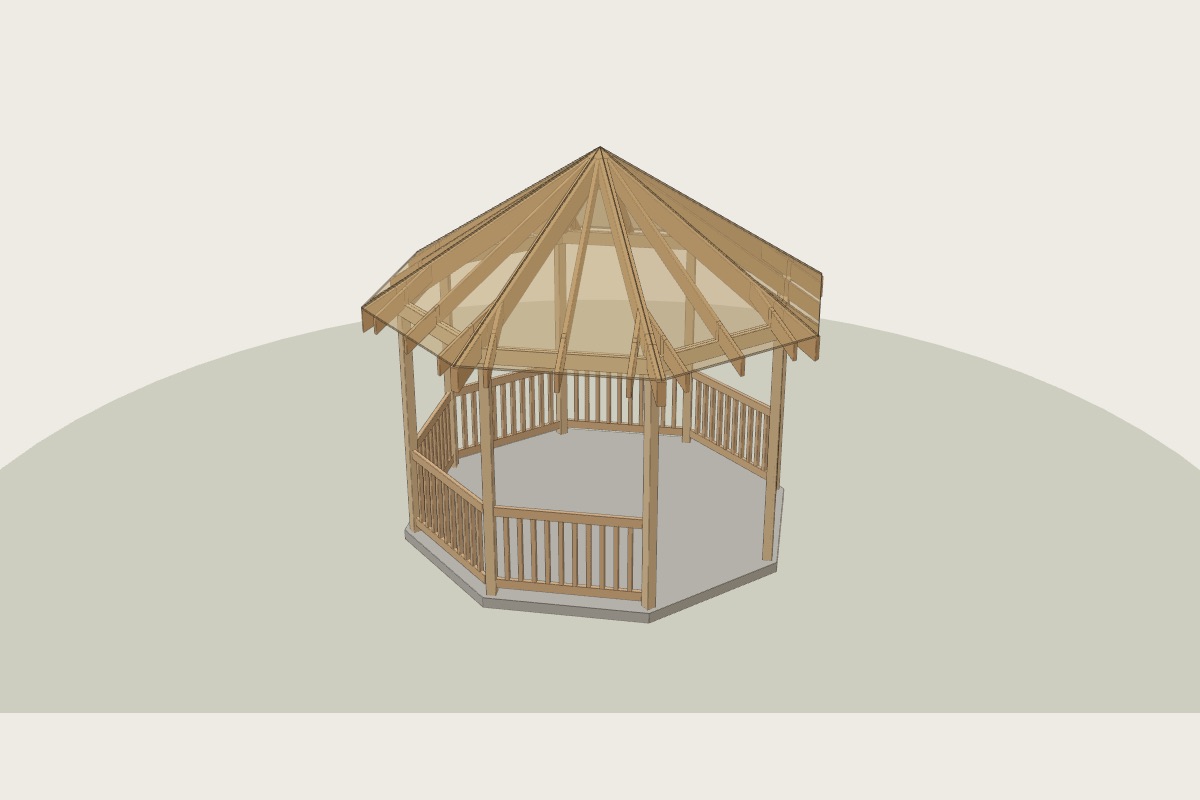 12′ Octagon Gazebo
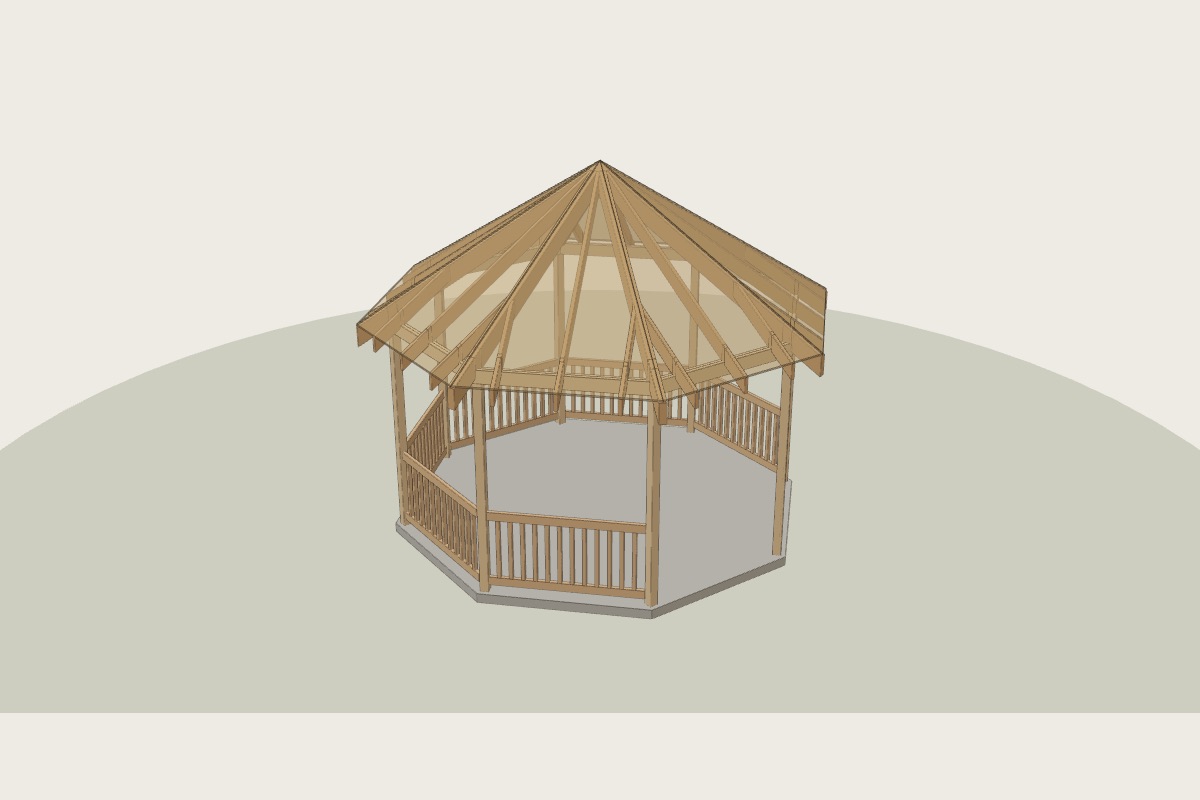 14′ Octagon Gazebo
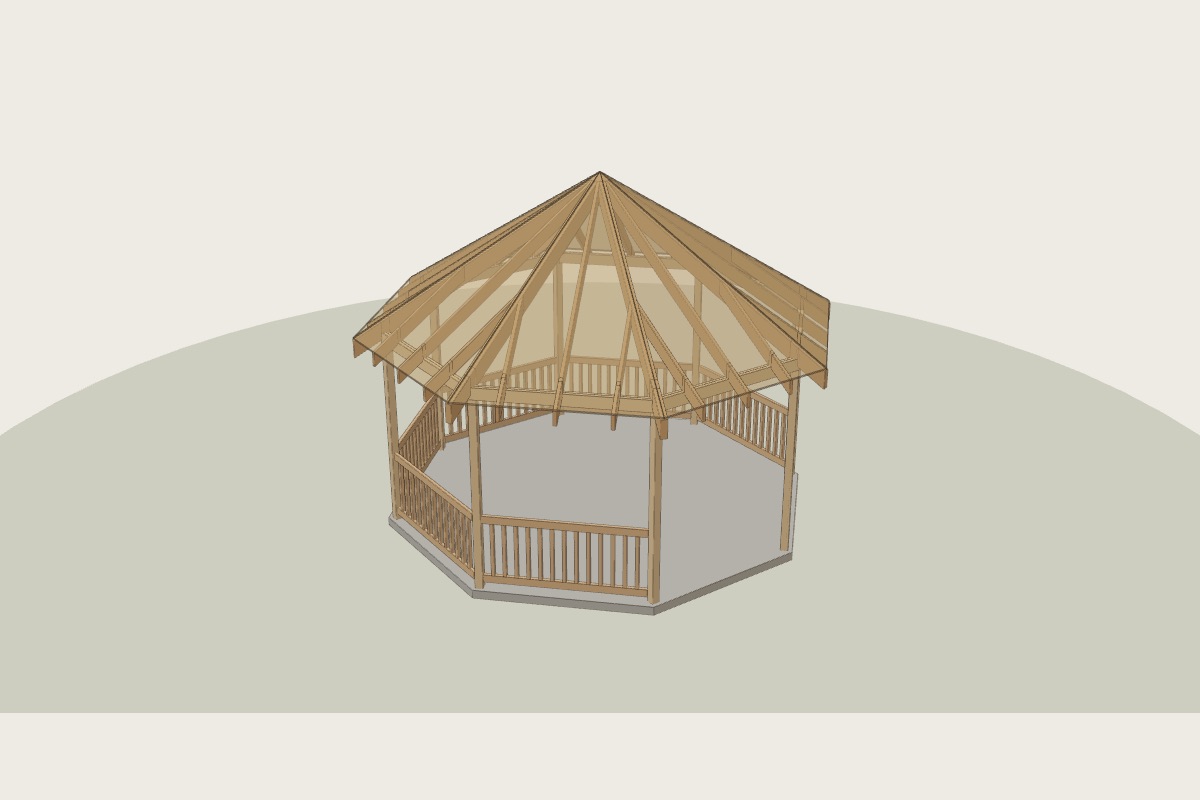 16′ Octagon Gazebo
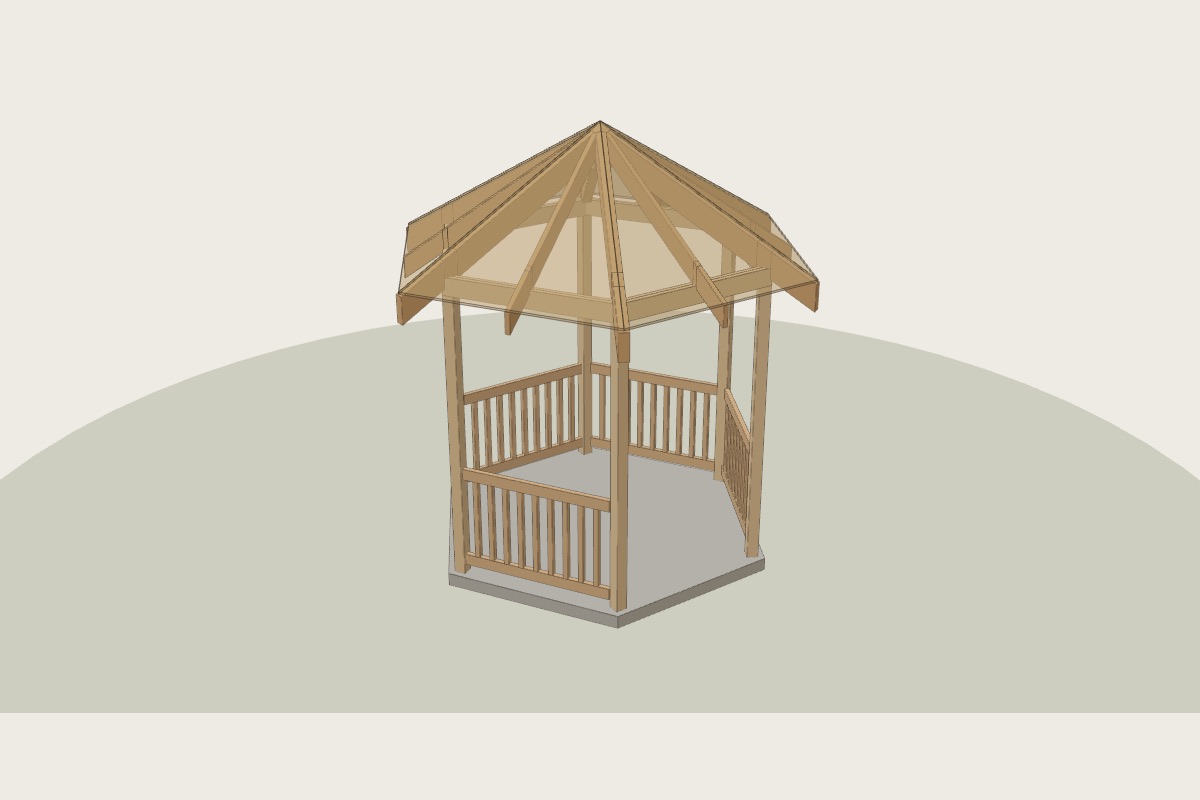 8′ Hexagon Gazebo